

Welcome to my world of Sn3 Scale Model Railroading

Besleme and Waite Explosives
By
Tom Troughton, MMR
| This document features the construction of a plaster and laser cut wood kit once offered by Banta Modelworks. It was originally sold as the, "B. Johnson Leather Works." I altered it a bit and renamed it, "Besleme & Waite Explosives Company," in honor of two model railroading friends and have it prominently located on my Cimarron and Tall Timbers RR. | |
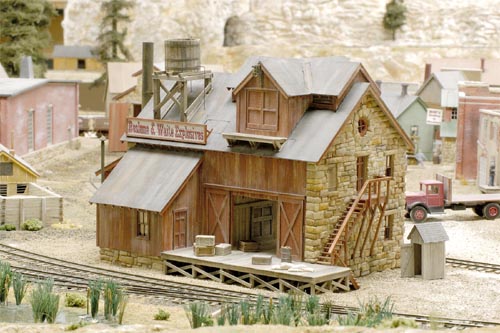 Photo 1. Here's the completed building sitting in a temporary location on my layout. All the wood was weathered with an alcohol and black shoe dye solution, then dry brushed with Folk Art Light Red Oxide craft paint. | 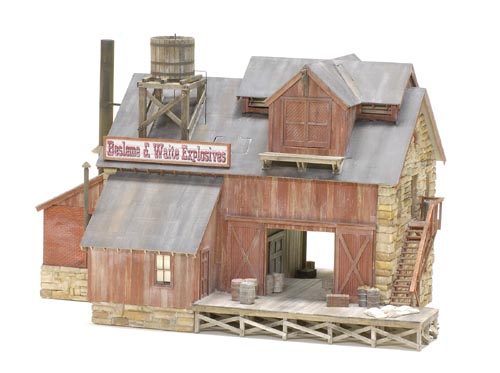 Photo 2. This is going to be the track side of the building. I chose it because of the water tank detail and side stairway will be easily seen by visitors. |
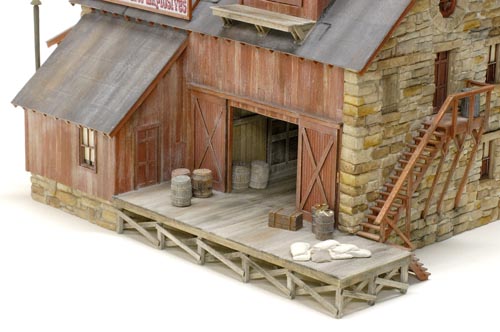 Photo 3. The shipping dock was constructed using a piece of untempered Masonite as a support. Weathered strip wood planks were glued directly to the surface which had been sealed with satin finish Polyurethane. | 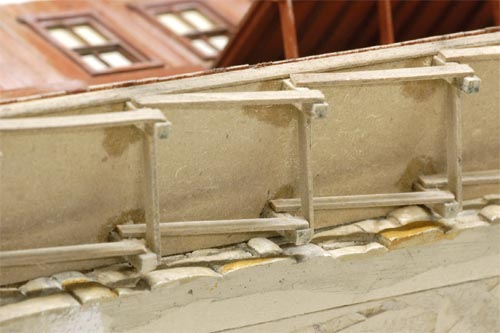 Photo 4. This underside view of one of the docks shows the Masonite support with the square bass wood legs glued into the round holes. Trim and diagonal braces have also been attached. A small portion of a piece of 1/2" thick OSB board is visible in the lower right corner of the photo. It is glued permanently in place. The OSB is an internal supporting feature to strengthen the plaster building walls. |
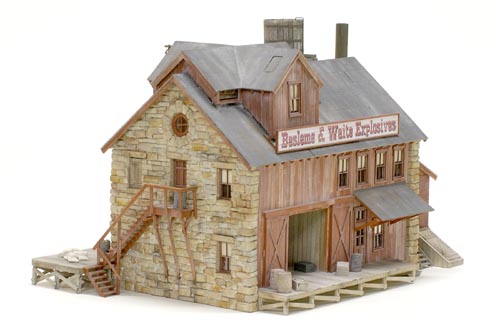 Photo 5. This stairway side will be seen easily by viewers. The stone walls were first sealed with Krylon Almond Satin spray paint, then dry brushed with Folk Art and Delta Ceramcoat acrylic craft paints. | 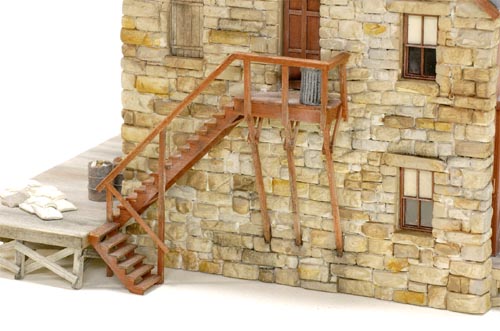 Photo 6. Instead of running the porch/stairway supporting posts straight into the ground where I probably would have broken them off while handling the building, their ends were set in notches cut into the stone wall. |
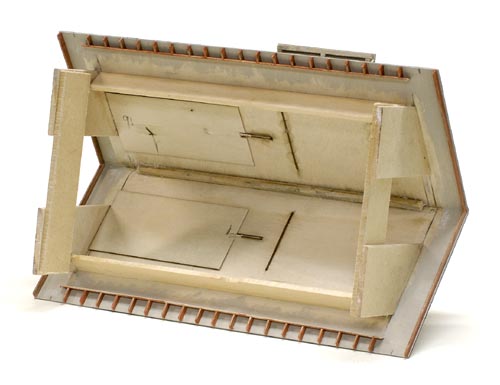 Photo 7. The roof was designed to be removed and was strengthened with pieces of the Masonite. It's quite strong and is easily lifted off the plaster structure. | 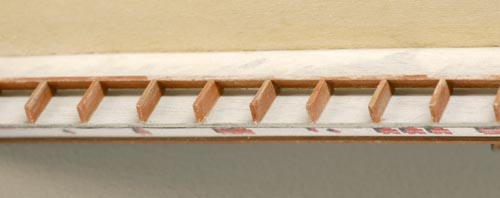 Photo 8. The short pieces of wooden rafter ends were glued in place with white glue. To prevent them from accidentally being damaged in handling, another piece of strip wood, running parallel with the walls, was added to support the tiny pieces. |
 Photo 9. The sliding doors to the shipping room were modeled in the opened position. Floor boards were installed to be even with the loading docks. The Masonite second floor is supported by the interior wall planks. It will eventually hold light fixtures to illuminate the room below. | 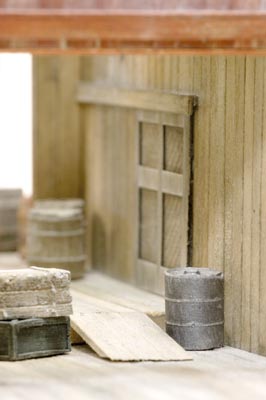 Photo 10. Weathered, un-painted boards were glued to the walls. Because the shipping room floors were at different elevations, a short inclined ramp was added between them. |
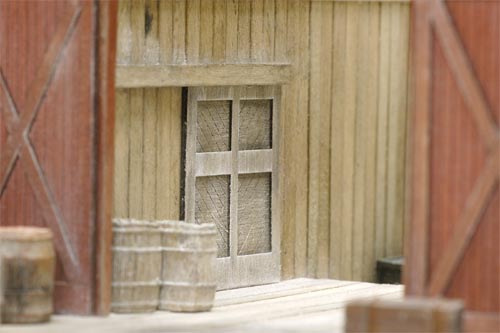 Photo 11. A, "dummy," sliding door and it roller track was added to the interior wall. | 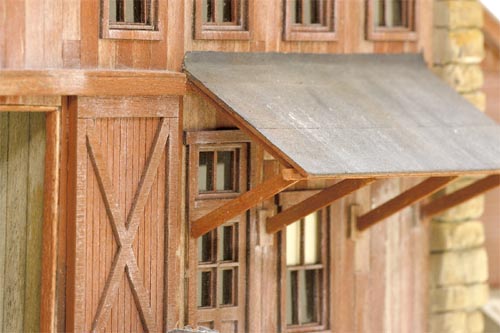 Photo 12. The supports for the roof over the rear entrance were angled and attached to the wooden walls. |
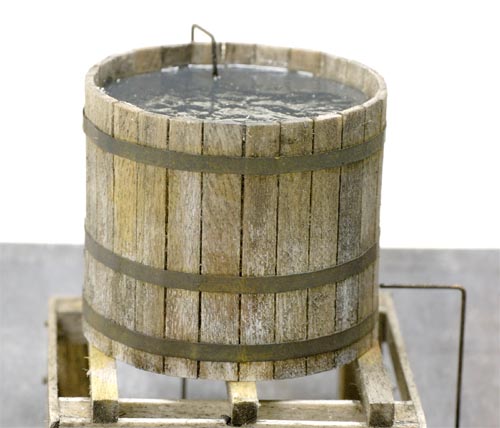 Photo 13. The thin frame for the tank was covered with pre-painted weathered boards. Tank bands were cut from note book paper and the water is Future Floor Wax. The brass wire supply pipes were immersed in Radio Shack Archer's Etchant, then chemically colored with gun bluing solution. | 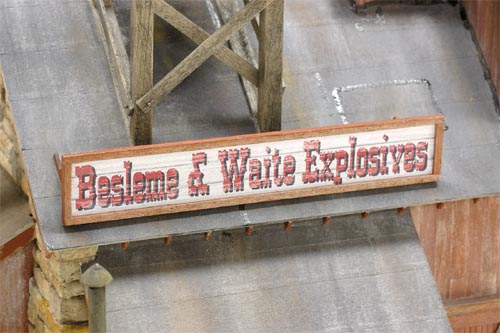 Photo 14. A new sign was created with Adobe Photoshop and glued to a scrap of thin aircraft plywood. |
 Photo 15. Before gluing the frame around the sign, the printing was scratched with the fine side of a sanding stick to age and weather it a little. | 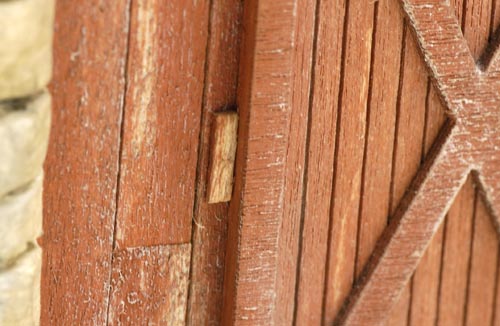 Photo 16. A short piece of 2x4 material was glued in place to represent a door stop. |
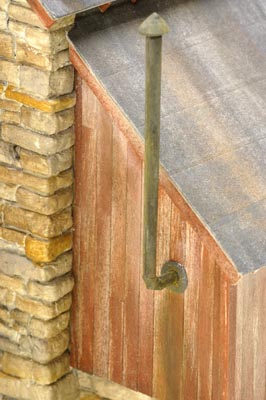 Photo 17. The stove pipe casting was secured in place with "5-Minute Epoxy. Because the wooden walls were so thin, an small block of wood was glued to the inner wall for additional support. | 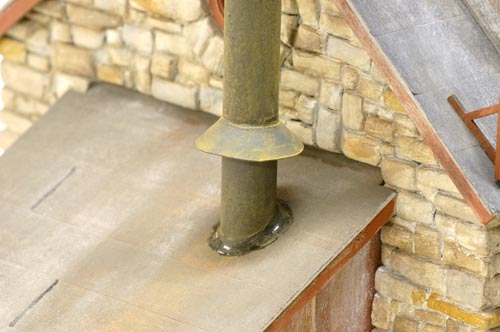 Photo 18. The large smoke stack was secured to an engineered supporting bracket on the underside of the boiler room roof with epoxy. Additional epoxy was added around the roof joint and painted with Pactra Glossy Black to represent roofing tar. The conical flashing was cut from index card stock and glued to the stack with Dr. Mikes Gap-Filling CA adhesive. |
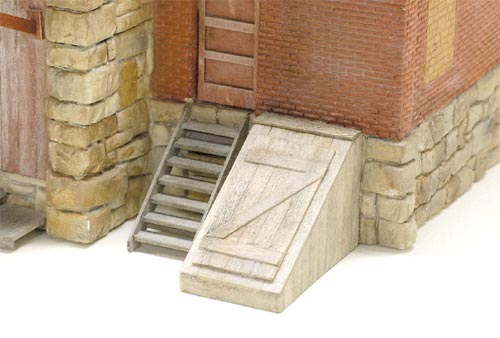 Photo 19. The cellar door assembly was relocated from the end of the building to the side of the boiler room. | 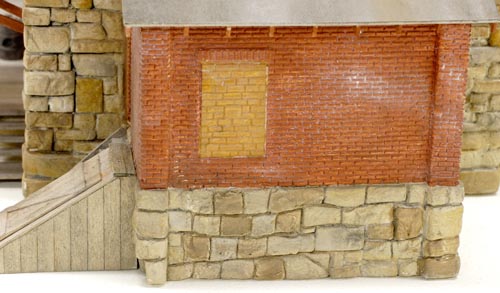 Photo 20. The area where the cellar door was originally located was covered with plaster and new stones were carved in place. When the plaster was dry, the newly carved stones were painted limestone colors with the craft paints to blend in with the others. |
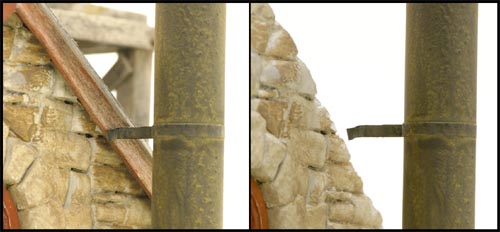 Photo 21. A supporting bracket for the stack was made with a strip of thin brass shim stock that was soldered into a circle and slid down the stack. The angled extension rubs against the fly rafter and appears firmly attached when the roof is in place as seen in the photo on the left. | 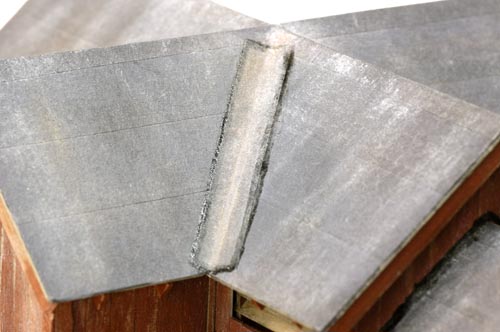 Photo 22. The roofing is Silk Span tissue that was cut into 3' scale widths and held in place with Polly Scale Tarnished Black paint. Patches were made with scraps of silk span. Vertical seams of the roofing paper were enhanced by painting them with a thin brush with the Glossy Black paint. |
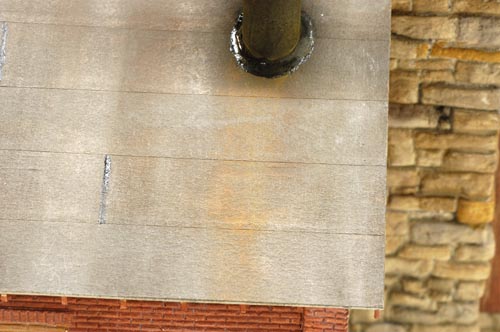 Photo 23. Artist pastel chalks were used to weather the roof. The rust stains from the stack were made with the colored chalks and my 20 year old Sweet & Sour weathering solution. | 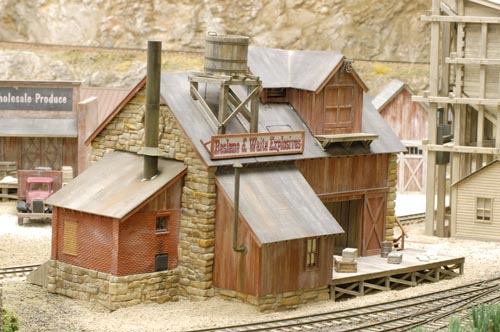 Photo 24. The building is definitely a, "Front-Of-The-layout," structure and will located where viewers can see the interior shipping area. It was fun to build and has added another business to my town of Tall Timbers, CO. |